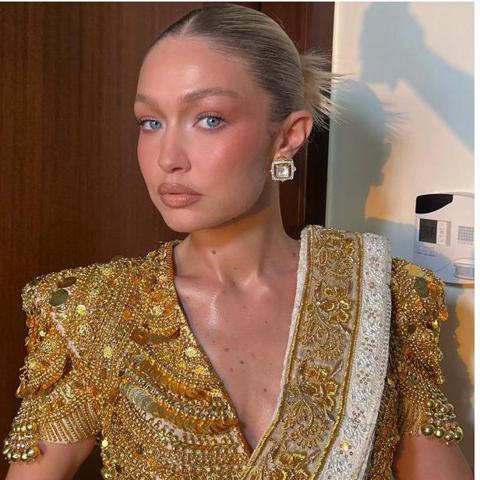
The Internet is always on its toes when it comes to jumping on new make-up trends. From adding water to foundation (or even pan frying it!) to using lube as a hair styling gel, there’s no shortage of quirky experiments.
But amidst the hits and misses, there are some trends that sound creative enough to pique our interest. One such hack that has caught the attention of make-up enthusiasts online is the ombre concealer technique.
This ingenious method involves skillfully using different shades of concealer and a touch of blush to create a seamless and lifted effect around the eyes. By strategically blending these hues, you can brighten those inner corners, diminish dark circles, and achieve an overall radiant appearance that’s ready for its close-up.
The technique promises to deliver an editorial and cool eye effect that will have you feeling like a beauty guru. So, let’s decode the secrets behind the ombre concealer trend and unleash your inner artist!
What’s the trend all about?
The ombre concealer trend is all about embracing gradients and multidimensionality. With a primary focus on the eye area, particularly the inner corners and under-eye region, this technique allows you to enhance specific areas, camouflaging imperfections and achieving a lifted effect that exudes confidence.
Here’s how you can recreate the look..
Step 1: Choosing the perfect concealer shades
Before diving into the ombre concealer journey, it’s essential to select three distinctive shades of concealer. The first shade should be the lightest, slightly brighter than your natural skin tone. The second shade should possess a subtle darkness, complementing the first shade, and the third shade should flawlessly match your skin tone.
Step 2: Illuminating with the lightest shade
Start by applying the lightest shade of concealer to the inner corners of your eyes. This strategic placement instantly brightens and highlights the area, leaving you with a fresh and awakened look. Use gentle blending techniques, such as using your fingertips or a small brush, to seamlessly merge the concealer with your skin.
Step 3: Creating depth with the second shade
To add depth and dimension, apply the shade slightly darker than the first just above the lightest shade. This step introduces a subtle gradient effect, enhancing the natural contours of your eyes. Blend the edges of the second shade with the first, ensuring a seamless transition that’s reminiscent of an enchanting sunset.
Step 4: Concealing with skin-tone matching concealer
Now it’s time to address any remaining dark circles or discolouration. Using a concealer that matches your skin tone, create a triangular shape that extends from the inner corner to the outer corner of your eyes. Blend the concealer skillfully, achieving a natural finish that flawlessly conceals imperfections.
Step 5: Blending like there’s no tomorrow
To achieve a flawless ombre effect, gently blend all the concealer shades together. Whether you opt for a blending brush or the delicate touch of your fingertips, ensure a smooth transition between the different shades. Strike the perfect balance between blending and maintaining the subtle variations that make this technique so captivating.
Step 6: Finishing touches with a pop of blush
Complete your ombre concealer look by adding a pop of blush to the under-eye region. Apply your favourite blush shade to the end of your under eyes, blending it upward toward your temples. Watch as your complexion lights up with a radiant glow, adding an extra touch of sun-kissed, snatched goodness to your overall look.
So, there you have it—an instant eye lift without all the needles!


